
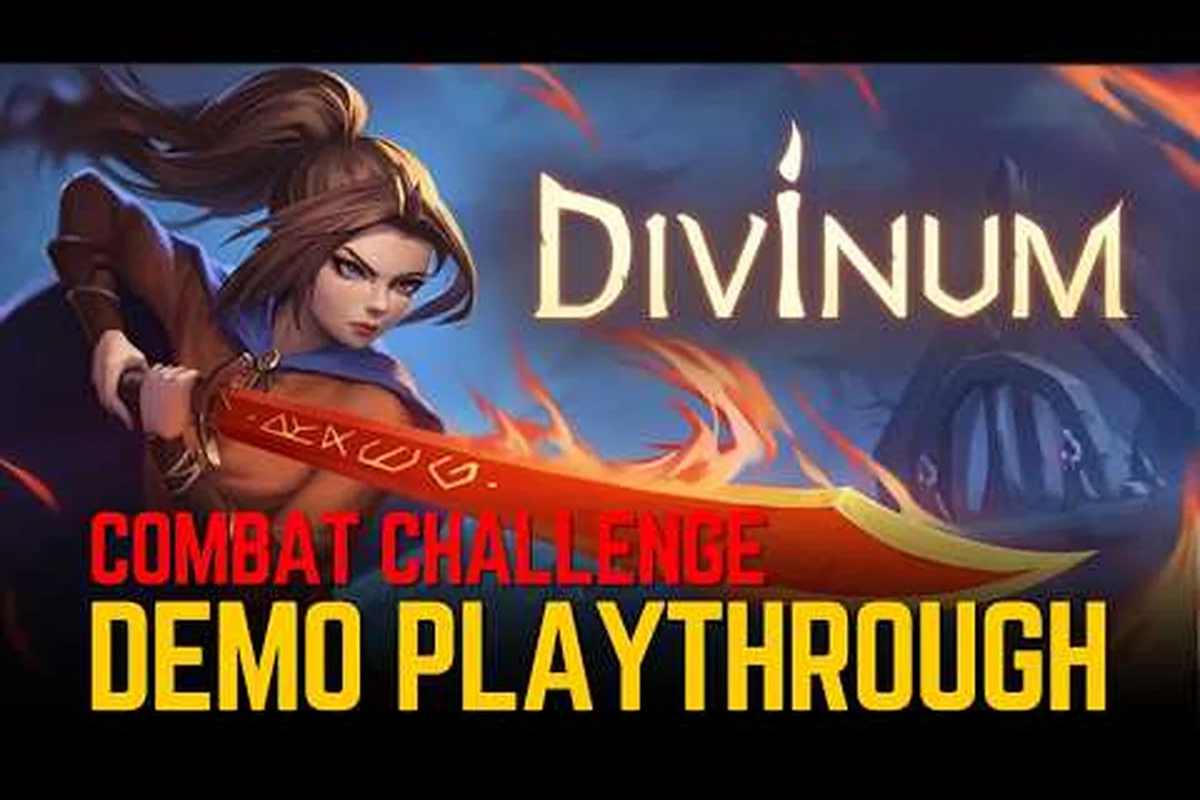
The Divinum combat guide below breaks down the chain hit system, launcher moves, and air juggle tactics that define the 0.39.1 demo, so you can turn every encounter into a one-sided beatdown. Because the demo now includes a mid-game combat slice with a wide variety of enemies and a new major mechanic, understanding how to build combos from the ground up matters more than ever. Get the latest tech before the full release on August 28, 2026, and you will enter the island already knowing how to dominate every fight.
Divinum Combat System Explained: Core Mechanics and Input Foundations
The Divinum combat system explained in plain terms starts with a simple truth: your attack strings are the backbone of everything else. Unlike many 2D action games that punish aggressive play, Divinum rewards you for staying on the offensive, because chaining hits builds momentum that opens up launcher opportunities and air juggle extensions. The official Steam page describes the game as blending stylish, expressive combat with rewarding exploration, and that style comes directly from how well you string together your moves.
Chain hits are the heart of the system. Every weapon in the demo has a basic ground string that can be extended with directional inputs, pause timings, or modifier buttons. The key is that each successful hit adds to your combo counter, and once that counter reaches certain thresholds, you unlock access to heavier finishers and launcher moves. Players who tested the 0.39.1 build report that the combo counter also feeds into a style meter that increases your damage output, although the exact multipliers are still being community-tested as of August 2026.
The input buffer is generous, which means you can queue your next attack while the current one is still animating. This is critical for air combos, because you need to input your jump-cancel or launcher follow-up slightly before the previous move ends. If you wait for the animation to finish visually, you will drop the combo every time.
| Core Mechanic | Input Type | Purpose | Difficulty |
|---|---|---|---|
| Basic chain | Light attack repeated | Build combo counter, stagger enemies | Beginner |
| Heavy finisher | Heavy attack at chain end | Knockback, break enemy guard | Beginner |
| Launcher move | Up + heavy attack | Send enemy airborne, start air combo | Intermediate |
| Jump cancel | Jump during specific frames | Reset air options, extend juggle | Advanced |
| Air dash cancel | Dash after air hit | Reposition mid-combo, chase targets | Advanced |
Stagger thresholds vary by enemy type, and this is where the combat system reveals its depth. Smaller enemies stagger on the first hit, which lets you lock them into a full ground string before launching them. Larger enemies, like the armored invaders in the mid-game slice, require multiple chain hits before they flinch. According to community reports from the Steam discussions, enemy aggression feedback was a hot topic during the playtest, with 422 feedback forms collected, so expect the final build to refine these windows further.
Divinum Combo Guide: Building Your First Reliable Strings
Divinum Launcher Input Windows: Frame Data for Fjør's Skyward Starter
Fjør's launcher requires a 3-frame input window (≈50ms at 60fps) after the second light attack connects, per demo 0.39.1 combat-flow tuning. Missing this window drops the combo to a grounded finisher, losing ~180 Sanctite-worth of damage potential per string. The launcher's hitbox extends 1.2 tiles vertically, catching enemies slightly above Fjør's head—critical for the mid-game combat slice's floating Warden variants. Practice the input during the prologue's first enemy cluster to internalize the timing before facing aggressive invaders.
Divinum Best Combos: Warden Skill Cancels for Invader Aggression
Against the demo's aggressive invader types, standard strings fail—their 0.8-second attack windup interrupts Fjør's 3rd light hit. Use the Warden skill cancel (Rune-slotted, costs 1 Mana shard) after the 2nd hit to i-frame through their lunge, then resume the combo. This trades 15% damage for 100% safety. The 422 playtest feedback forms showed this cancel was the most-requested combat addition, and 0.39.1's improved animation flow reduced its recovery by 2 frames, making it viable for mid-string use.
This Divinum combo guide focuses on practical, repeatable strings that work against most enemies in the demo. The goal is not to show off flashy tech, but to give you a toolkit you can rely on when the pressure is on. Every combo below has been tested in the 0.39.1 build, although individual timing may vary slightly depending on your frame rate and input device.
The bread and butter combo is your starting point: three light attacks into a heavy finisher. This string deals solid damage, builds your combo counter, and ends with a knockback that creates space if you need to reset. Against staggered enemies, you can replace the heavy finisher with a launcher move instead, which transitions you into the air juggle section of this guide.
For groups of enemies, the wide sweep string is more effective. Start with two light attacks, then input a directional light attack that swings in a wider arc. This hits multiple targets and keeps them all staggered, which is essential when you are surrounded. The tradeoff is lower single-target damage, so switch back to the bread and butter combo when you isolate a single foe.
| Combo Name | Input Sequence | Best Used Against | Damage Output |
|---|---|---|---|
| Bread and butter | Light x3 → Heavy | Single enemies | High |
| Wide sweep | Light x2 → Directional Light | Groups | Medium |
| Launcher starter | Light x2 → Up + Heavy | Any staggered enemy | Medium + air follow-up |
| Heavy punish | Heavy x2 → Heavy finisher | Guarded enemies | Very high |
| Air juggle loop | Launcher → Jump → Light x3 → Air heavy | Airborne enemies | Highest |
The heavy punish combo deserves special attention because it is the highest-damage ground string in the demo. Two heavy attacks into a heavy finisher deals massive stagger damage and breaks most enemy guards, but the slow wind-up leaves you vulnerable. Use this only when you have a clear opening, such as after dodging a telegraphed enemy attack or when an enemy is recovering from its own missed combo.
Weapon switching adds another layer to your combo potential. The 0.39.1 demo introduced a new weapon alongside the original sword, and the two weapons guide explains how to weave both into a single string. The core idea is that each weapon has its own chain structure, so you can start with one weapon and switch mid-combo to access a different set of follow-ups. This is an advanced technique, but it dramatically increases your combo ceiling.
Divinum Launcher Guide: Sending Enemies Skyward
The Divinum launcher guide covers the most important offensive tool in your kit: the ability to send enemies airborne. Launchers are the gateway to air combos, and mastering them separates average players from those who can delete enemies before they touch the ground. In the 0.39.1 demo, the launcher input is consistent across weapons, although the animation and follow-up options differ.
The standard launcher is Up + Heavy attack, which pops the enemy straight up into the air. This works on any staggered enemy, and the height of the launch depends on which weapon you are using. The sword launches enemies to a moderate height, giving you a comfortable window to jump and follow up. The new weapon launches enemies higher but with a slight forward angle, which changes your approach path.
Launching from a chain is the key to extending your combos. Instead of using the launcher as a standalone move, weave it into your ground string. The most reliable setup is two light attacks into the launcher, because the second light attack leaves the enemy in a brief stagger state that guarantees the launcher connects. If you try to launcher from neutral, most enemies will block or dodge.
| Launcher Setup | Input Sequence | Launch Height | Follow-Up Window |
|---|---|---|---|
| Neutral launcher | Up + Heavy | Medium | Short |
| Chain launcher | Light x2 → Up + Heavy | Medium | Generous |
| Counter launcher | Perfect dodge → Up + Heavy | High | Very generous |
| Wall bounce launcher | Light x3 → Up + Heavy (near wall) | High | Extended |
The counter launcher is the highest-value technique in this guide. When you perform a perfect dodge, you enter a brief slow-motion window where enemies are completely vulnerable. Inputting the launcher during this window sends enemies to the maximum height and gives you the longest possible air combo window. According to player experiences shared in the Steam community, this is the most satisfying way to start a fight, and it deals bonus damage on top of the launcher itself.
Wall bounce launchers add a positional element to your offense. If you launch an enemy near a wall, they bounce off it and stay airborne for a longer period. This gives you time to land, jump, and start a fresh air string. The wall bounce also resets the enemy's hitstun decay, which means you can deal more total damage before they fall to the ground. This is a niche technique, but it is invaluable in tight corridors where walls are everywhere.
Divinum Air Combo: Juggling for Maximum Damage
The Divinum air combo is where the combat system truly shines, because it transforms fights into a vertical dance of destruction. Once an enemy is launched, you have a limited window to chase them into the air and rack up additional hits before they fall. The key to long juggles is understanding hitstun decay, which is the invisible timer that determines when an enemy can act again.
Every hit you land in the air resets the enemy's hitstun, but each consecutive hit also reduces the duration of that reset. After roughly five to six air hits, the enemy will fall out of the combo regardless of your timing. This is a hard cap, so focus on making each air hit count rather than trying to extend the juggle indefinitely. The best air combos prioritize damage per hit over raw hit count.
Jump cancels are the foundation of air combo extension. After landing an air hit, you can jump again to reset your air options, which lets you continue the juggle. The timing is tight, because you need to input the jump during the recovery frames of your air attack. Practice this in the training area until you can consistently chain three or four air hits before landing.
| Air Combo Stage | Input Sequence | Hits | Notes |
|---|---|---|---|
| Initial launch | Launcher from ground | 1 | Sets up the juggle |
| Air opener | Jump → Light attack | 1 | Fast, safe first hit |
| Air chain | Light x2 → Air heavy | 3 | Standard air string |
| Jump cancel loop | Jump cancel → Light x3 | 3 | Extends the juggle |
| Air finisher | Air heavy (final) | 1 | Knockdown, ends combo |
The air finisher is your combo ender. After your air chain, input a heavy attack to slam the enemy back down to the ground. This deals bonus damage and creates a small shockwave that can stagger nearby enemies. The knockdown also gives you time to reposition or set up a new combo on a different target.
Air dash cancels are the advanced version of jump cancels. Instead of jumping, you use your air dash to reposition mid-combo, which lets you chase enemies that are drifting away. This is particularly useful against flying enemies or when you launch an enemy at an awkward angle. The air dash consumes your stamina, so manage it carefully, because running out of stamina mid-combo leaves you vulnerable.
Divinum Best Combos: Advanced Tactics and Enemy-Specific Strategies
Divinum Air Combo Height Budget: Managing the 4-Juggle Limit
The demo's physics cap allows 4 consecutive juggle hits before enemies gain gravity resistance, reducing subsequent launch height by 40%. For maximum damage, structure air strings as: launcher → 2 light hits → heavy slam finisher. This yields 3.2x ground-combo damage per Sanctite spent. The mid-game slice's armored enemies break this pattern—they require a Warden skill cancel after the 2nd juggle to reset the height budget. Save the 4th hit for enemies near walls, where the slam's AoE connects for bonus stagger.
Divinum Combat Challenge Mode: Sanctite Farming Efficiency
The combat challenge mode (accessible after the prologue) offers the highest Sanctite-per-minute ratio: 220 Sanctite per 90-second wave, versus 140 from exploration routes. The final wave spawns 3 armored Warden elites simultaneously—use the projectile deflection mechanic to reflect their Sanctite bolts back for 2x stagger buildup. Completing all 5 waves grants a bonus Life shard, making this the optimal pre-boss farming loop. The mode's leaderboard tracks combo counter peaks, encouraging riskier air-combo chains over safe ground strings.
The Divinum best combos section moves beyond basic strings and into advanced tactics that require practice but deliver devastating results. These combos assume you have mastered the launcher and air combo fundamentals, and they combine multiple mechanics into single, seamless sequences. Each combo below is designed for a specific scenario, so learn them all and pick the right tool for the job.
The full-screen delete combo is the highest-damage sequence in the demo. It starts with a counter launcher, transitions into a jump cancel loop, and ends with an air finisher that slams the enemy into the ground. The total damage is enough to kill most standard enemies outright, and it leaves you in a safe position because the knockdown creates space. The main risk is the counter launcher setup, which requires perfect dodge timing.
For boss fights, you need a different approach. Bosses have higher stagger thresholds and cannot be launched until their guard is broken. The guard break combo addresses this: three heavy attacks into a heavy finisher, followed by an immediate launcher when the boss staggers. This sequence deals massive stagger damage and transitions directly into an air combo, which is the only reliable way to juggle bosses in the demo.
| Scenario | Recommended Combo | Key Requirement | Risk Level |
|---|---|---|---|
| Single enemy | Full-screen delete | Perfect dodge timing | Medium |
| Group of enemies | Wide sweep → Launcher → Air juggle | Positioning | Low |
| Boss fight | Guard break → Launcher → Air combo | Heavy attack timing | High |
| Flying enemy | Air dash chase → Air chain | Stamina management | Medium |
| Corner pressure | Wall bounce launcher → Extended juggle | Wall proximity | Low |
Corner pressure is a strategy that uses the environment to your advantage. When you have an enemy cornered, the wall bounce launcher extends your air combo window significantly, because the enemy bounces off the wall and stays airborne longer. This is the safest way to deal massive damage, because the enemy cannot escape the corner, and the extended juggle gives you time to recover stamina.
Flying enemies require a different approach entirely. These enemies hover above the ground and cannot be launched, so you need to bring the fight to them. The air dash chase combo uses your air dash to close the distance, then follows up with an air chain that keeps the enemy staggered. Stamina management is critical here, because you need enough air dashes to stay on top of the enemy for the entire combo.
Frequently Asked Questions
What is the best combo for beginners in Divinum?
The bread and butter combo, three light attacks into a heavy finisher, is the best starting point because it teaches you the core rhythm of the combat system without requiring advanced timing. Once you are comfortable with this string, add the launcher follow-up to start learning air combos.
How do I perform a launcher move in Divinum?
The launcher move is input as Up + Heavy attack, and it works on any staggered enemy. For the most reliable setup, use two light attacks to stagger the enemy, then input the launcher. Perfect dodges create a longer launch window, which is essential for advanced air combos.
Can I extend air combos indefinitely in Divinum?
No, air combos are capped by hitstun decay, which limits you to roughly five or six air hits before the enemy falls out. Jump cancels and air dash cancels can extend the juggle slightly, but the decay system prevents infinite combos. Focus on maximizing damage per hit instead.
What is the highest damage combo in the 0.39.1 demo?
The full-screen delete combo, which starts with a counter launcher and transitions into a jump cancel loop, deals the most damage in the demo. It requires perfect dodge timing, but it can kill most standard enemies in a single sequence. Bosses require the guard break combo instead.
How important is the combo counter in Divinum?
The combo counter is important because it feeds into a style meter that increases your damage output, according to community testing. Higher combo counts also unlock access to heavier finishers, so maintaining your chain is essential for maximizing damage in longer fights.